Understanding Light in Food Photography
Light is everything in food photography. It’s what makes a dish look appetizing or unappetizing. You’ll quickly realize that natural light gives you the most honest, beautiful results — but it’s not always available when you need it.
The three main light sources you’ll work with are natural daylight, continuous studio lights, and flash. Natural light from a window is often your best bet, especially soft, diffused light from a north-facing window. It’s forgiving, it’s free, and it won’t add unwanted color casts to your food.
Key Lighting Positions
- Front lighting: Creates clean, visible details but can look flat
- Side lighting: Adds dimension and texture, reveals depth
- Backlighting: Creates rim light, shows translucency and shine
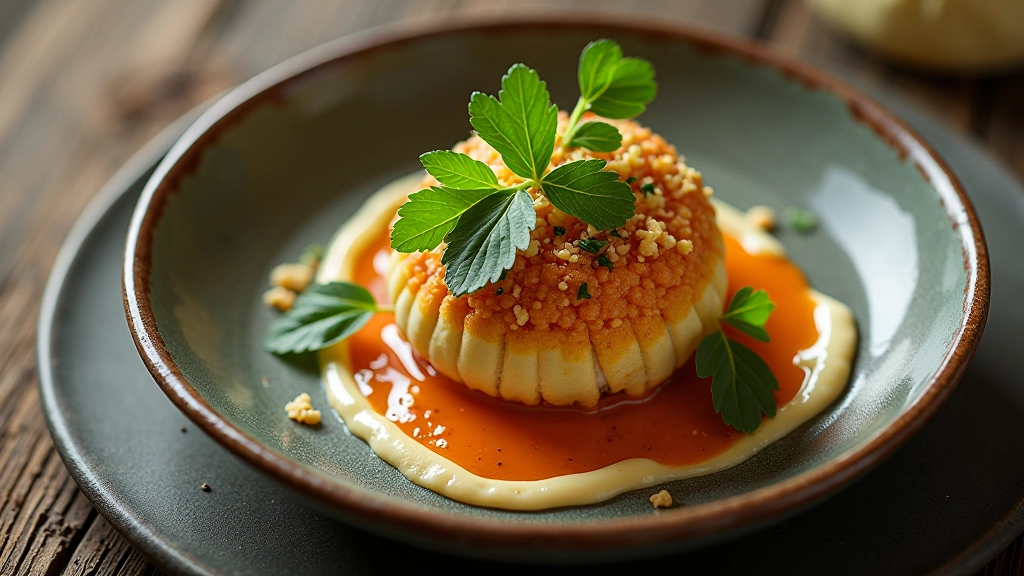
The Art of Food Styling
Food styling is a specialized skill that takes practice. The goal isn’t to make food look fake — it’s to make it look like the best version of itself. You’re enhancing what’s naturally there, not creating an illusion.
Start with fresh ingredients. They’ll photograph better and they’ll look more appetizing. Slightly overripe fruit has more character than perfect fruit. A well-done steak has better color than a raw one. Think about what makes food visually interesting: texture, color contrast, and height variation.
Prepare Multiple Plates
Cook extra portions. Styling takes time and you’ll want options for different angles.
Add Height and Depth
Layer ingredients. Don’t arrange everything flat on the plate — create vertical interest.
Use Negative Space
Don’t overcrowd the plate. Let the food breathe. Empty space draws attention to what matters.
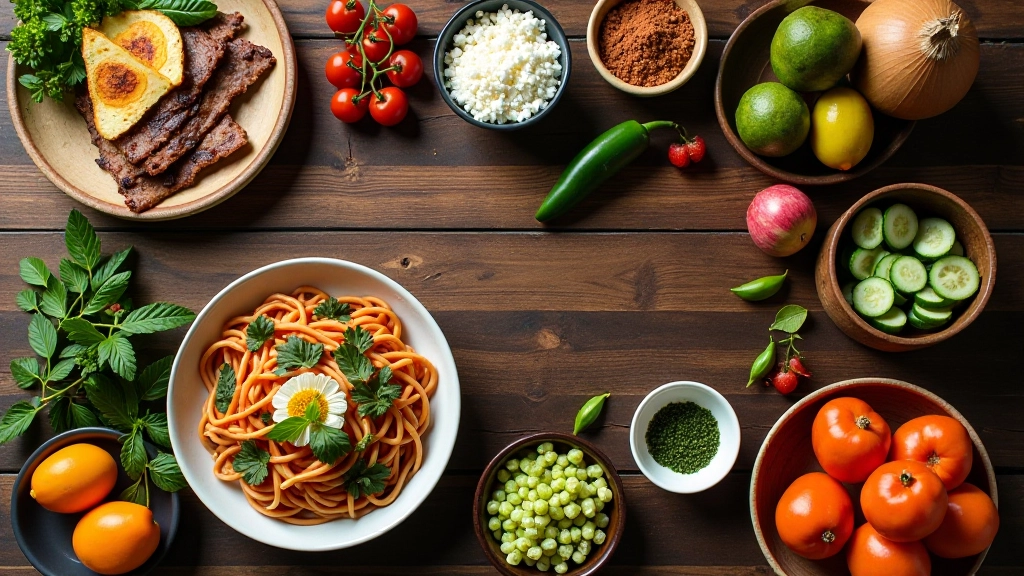
Color Theory and Composition
Color is your secret weapon in food photography. Complementary colors — colors opposite each other on the color wheel — create visual impact. A bright green salad against a warm terracotta plate. Purple cabbage next to golden roasted chicken. These combinations make images pop.
You’ve probably noticed that food stylists arrange dishes with an invisible triangular composition. This creates balance without feeling static. Don’t center everything. Offset your main subject and use supporting elements to guide the viewer’s eye.
The background matters as much as the food itself. A plain white or neutral background keeps focus on the dish. A styled background with props tells a story. Choose materials that complement your food — wood for rustic dishes, marble for elegant presentations, linen for casual meals.
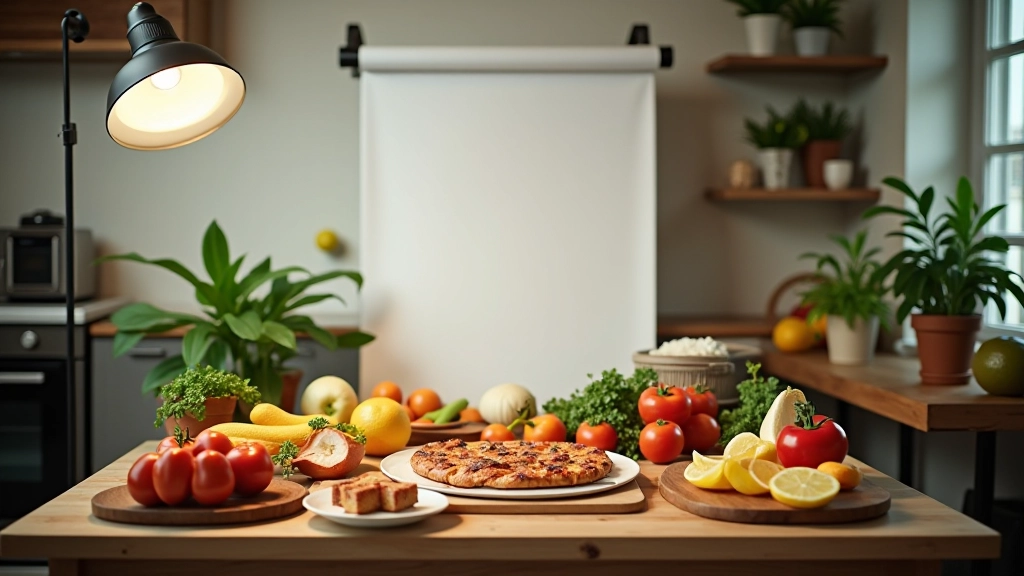
Setting Up Your Workspace
You don’t need expensive equipment to start. A good camera helps, but what matters more is understanding light and composition. If you’re working with natural light, position your setup near a window where you get soft, diffused light — not harsh direct sunlight.
Invest in a few key tools: white foam boards or reflectors to bounce light onto shadow areas, a white diffusion panel to soften harsh sunlight, and a collection of simple props. Wooden boards, linen napkins, fresh herbs, and various dishware will cover 90% of your styling needs.
“Good food photography isn’t about having the most expensive camera. It’s about understanding how light shapes what we see. When you master that, everything else follows.”Professional food photographer insight
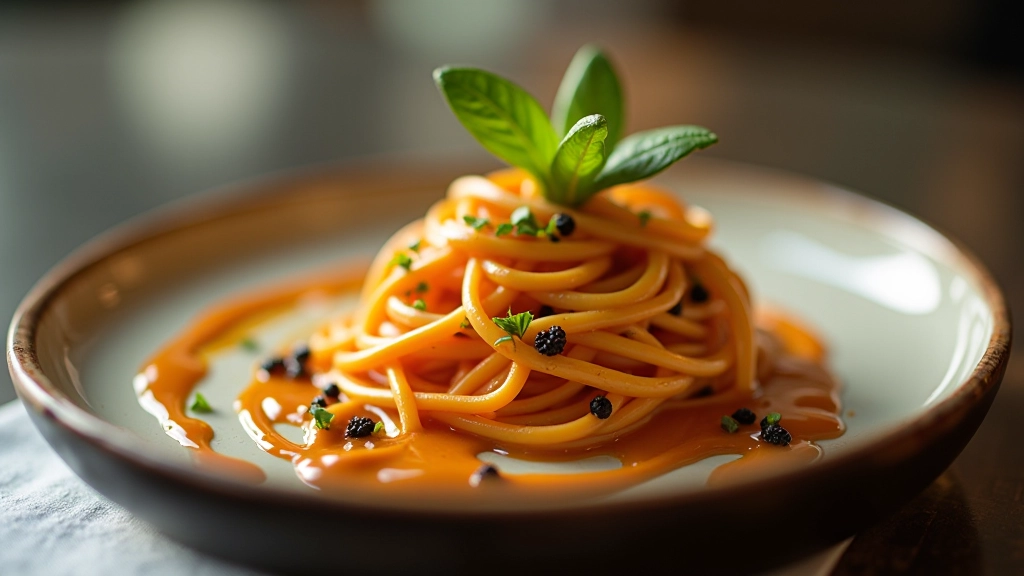
Advanced Techniques and Finishing Touches
Once you’ve mastered the basics, there’s always more to learn. Steam from hot food creates atmosphere but dissipates quickly — have your camera ready. Oil or glaze brushed onto food makes it look fresher and more appetizing. A pinch of fleur de sel adds texture and visual interest.
Motion matters too. Pouring sauce, sprinkling herbs, or capturing steam requires planning but creates dynamic images that feel alive. You’ll want a fast shutter speed to freeze these moments — around 1/1000th of a second depending on your lighting.
Post-processing should enhance, not transform. Adjust exposure and white balance to match what you saw with your own eyes. Boost color saturation slightly — food in photos naturally appears less vibrant than in person. Sharpen selectively. Don’t over-edit. The goal is making the food look like you’d want to eat it.
Moving Forward with Food Photography
Food photography combines technical skill with creative vision. You’re learning to see light, understand composition, and tell stories through images. The techniques covered here — proper lighting, thoughtful styling, color theory, and workspace setup — form the foundation that professional food photographers build upon.
The real learning happens through practice. Shoot the same dish multiple ways. Try different backgrounds and lighting angles. Study images you admire and reverse-engineer them. Keep a collection of inspiring food photos. Notice what makes certain images work and what falls flat.
Don’t wait for perfect conditions or expensive gear. Start with what you have — a camera, natural light, and ingredients. The fundamentals matter far more than the equipment. Once you understand how light shapes your images and how composition guides the viewer’s eye, you’ll be able to create compelling food photography in almost any situation.
Important Note
This guide provides educational information about food photography techniques and best practices. Results vary based on your equipment, environment, and experience level. Photography involves personal creative interpretation — techniques that work for one photographer may need adjustment for another’s style. Consider these fundamentals as starting points for developing your own approach to food photography.